
The Basics of De-winterizing your RV – it’s time to get busy!
I know most of you have isolated yourselves and are practicing social distancing – and I also know it can sometimes be a challenge to stay positive at this time.
But… why not take advantage of the extra time you have and get your RV ready for when things get straightened out and we can get back to normal. It’s time to de-winterize your RV in anticipation of your next RV adventure.
How to de-winterize your RV – thoroughly- easy to follow directions.
It’s important to take the time and check out every part of the RV to ensure nothing has happened to it over the winter even though you’ve winterized it thoroughly. Things happen!
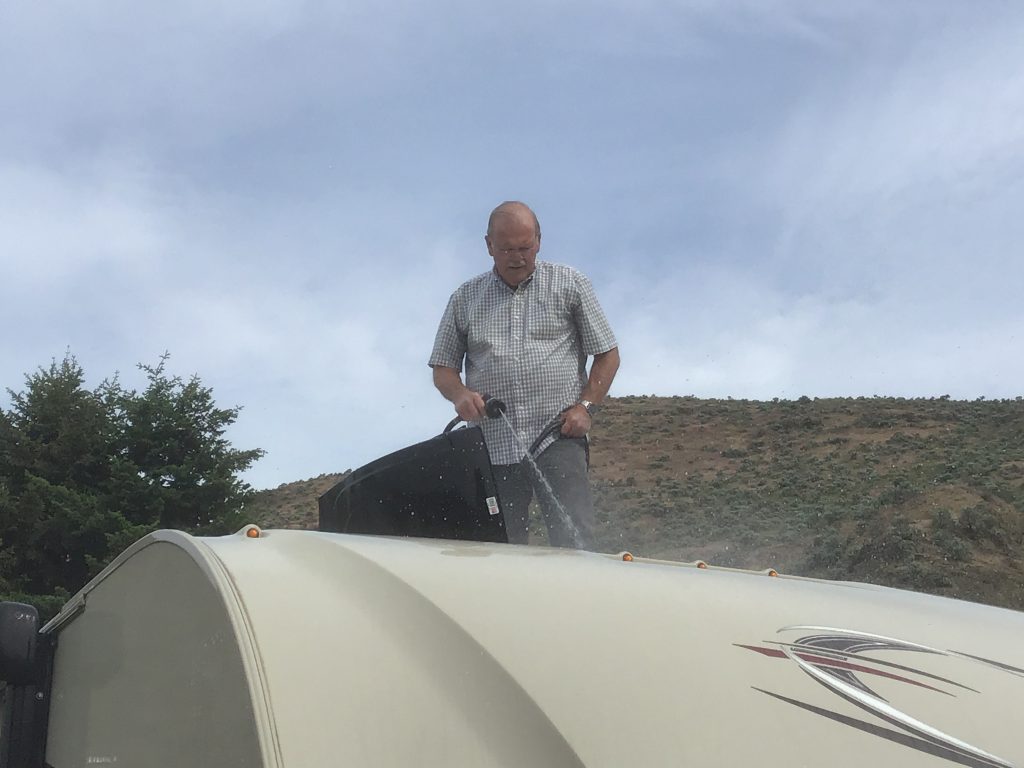
Before we even go inside your RV let’s start with the outside – the exterior. Why not start with a clean unit and get rid of the dust and dirt that accumulated over the winter. That’s why the first item on our list is:
- Wash the exterior of your RV – using a soap that is gentle on the surface and non-abrasive. I’m assuming you cleaned it thoroughly when you stored it last fall so there’s no bugs and dirt you need to worry about. Turtle wax cleaner – check the label to make sure it say’s “RV”.
2. Awning – this needs to be brought out and cleaned as well because mildew sometimes develops and it’s better to catch it before it gets out of hand. This also gives you a chance to make sure it’s working properly.
3. Damage – check absolutely everything for damage that may have been caused by heavy snow, rain or windstorms. Look for cracks in the seams, including the windows and roof vents. It might be time to re-seal.
4. Lights – if your RV is motor driven it’s probably a good time to check the headlights, signals, and brake lights.
5. Batteries – Before checking your batteries make sure all the RV power and shore power is turned off. It’s probably a really good idea to use gloves and safety glasses.
a. Are all battery connections clean and not corroded? If they are corroded hot water and baking soda to get them nice and clean. If they’re cracked it means they need to be replaced. Our battery for our motorhome died over the winter and we need to replace it.
b. Check for fluid levels and charge them up. Once they’re charged if you notice the water levels are down use distilled water to bring the levels up of your lead-acid batteries.
6. Tires – look for cracks and don’t forget to check over the spare as well. It’s also time to check the air pressure and inflate the tires to the proper tire pressure.
De-winterizing your RV’s interior
It’s time to move inside as the next step in de-winterizing your RV. Once again let’s start with a clean RV.
- Washing – It’s time to get out a bucket and your favourite cleaning solution and give your RV s thorough cleaning and air it out. This will not only include all the surfaces but also the fridge, stove, water heater, shower, drawers, and closets, etc.
- Look for signs of mice and other rodents including spiders who may have made your unit their winter home.
- Check for signs of water leaks.
- Fresh Water System – Let’s assume you don’t have an ice maker.
- Hook up to city water
- Open every facet – shower, toilet, outside shower and let the water run (both hot and cold) until no antifreeze is no longer showing up in the water. (Remember it’s the pink stuff you put in your system last fall.)
- Check for leaks.
- If you’ve used a non-toxic anti-freeze, you’ll need the flush the system out. We use a product made by Camco.
- Place water heater to “normal” mode, closing the crossover valve, opening up the in-and-out valves.
- Open a hot water faucet until the water heater fills.
- Propane System – You don’t want any hoses to have dried out or cracked over the winter so check them thoroughly. Again, we’re checking to see if rodents have chewed any of the hoses. Once that’s checked over its time to:
- Turn off all of your LP (propane) items before you do anything else.
- No smoking!
- Turn on the leak detector in your RV.
- Open the valve on your tank – all the way checking to see if you smell any leaks.
- It’s time to apply soapy water to the valve and the regulator. If there’s bubbles or spurts, there’s a leak. If you suspect a leak turn the propane off immediately. It’s time to bring in the professionals.
- Test your propane (LP) appliances and let them run for a while.
- Turn off the fridge, let it return to room temperature and then test it out using electricity.
- Appliances – check all of your appliances in the electric mode.
- Hoses – Have you checked your dump hose and your water hose for leaks? You definitely don’t want to wait until you’re dumping the black water tank and realize the hose has cracked over the winter.
- Black water tank valves – Last but not least it’s time to check the seals on your black water tank valves. It’s probably a good idea to do this when you’re at a dump station. Move the handle a little bit at a time and if it’s sticking add some lubricant to the tanks.
That’s it! Follow these simple and easy to follow instructions on how to de-winterize your RV and you’ll be ready to head out when camping season hits.
Attached is a PDF The Basics of De-winterizing Your RV you can print out and follow when you’re de-winterizing your RV.